The HFX Floating Ground Station
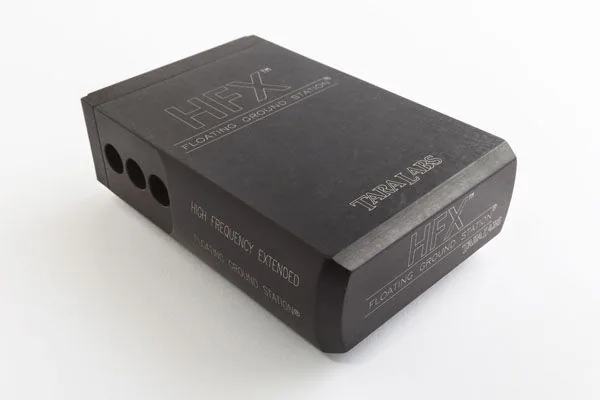
The HFX Floating Ground Station is an extraordinary component that is included with all reference “Extended” bandwidth interconnect cables. TARA Labs’ proprietary ground station system is made of mil-spec aluminum alloy, whose specific metallurgical properties reduce EMI/RFI and electromechanical resonance. It’s 18.23% heavier and stronger than aircraft-grade stock. Equipped within the HFX station is a patented ceramic composite of metallic oxides and an amalgam of mineral elements in a proprietary ceramic binder called “Ceralex.”
Because the HFX functions completely outside the signal path, it is able to dissipate EMI/RFI (electromagnetic interference & radio frequency interference) and eliminate its effects, which include sonic distortion, noise, “snow” and lack of image clarity. What the listener will hear using the HFX system is more high-frequency extension, incredible detail, tighter bass and a full midrange, along with enhanced musicality and neutrality, which are all signature characteristics of TARA Labs high-end audio cables. The HFX Floating Ground Station System comes complete with a variety of mini banana & spade leads to connect it to virtually any component. The appearance of the HFX station is one of beauty and elegance, in addition to its superb performance.
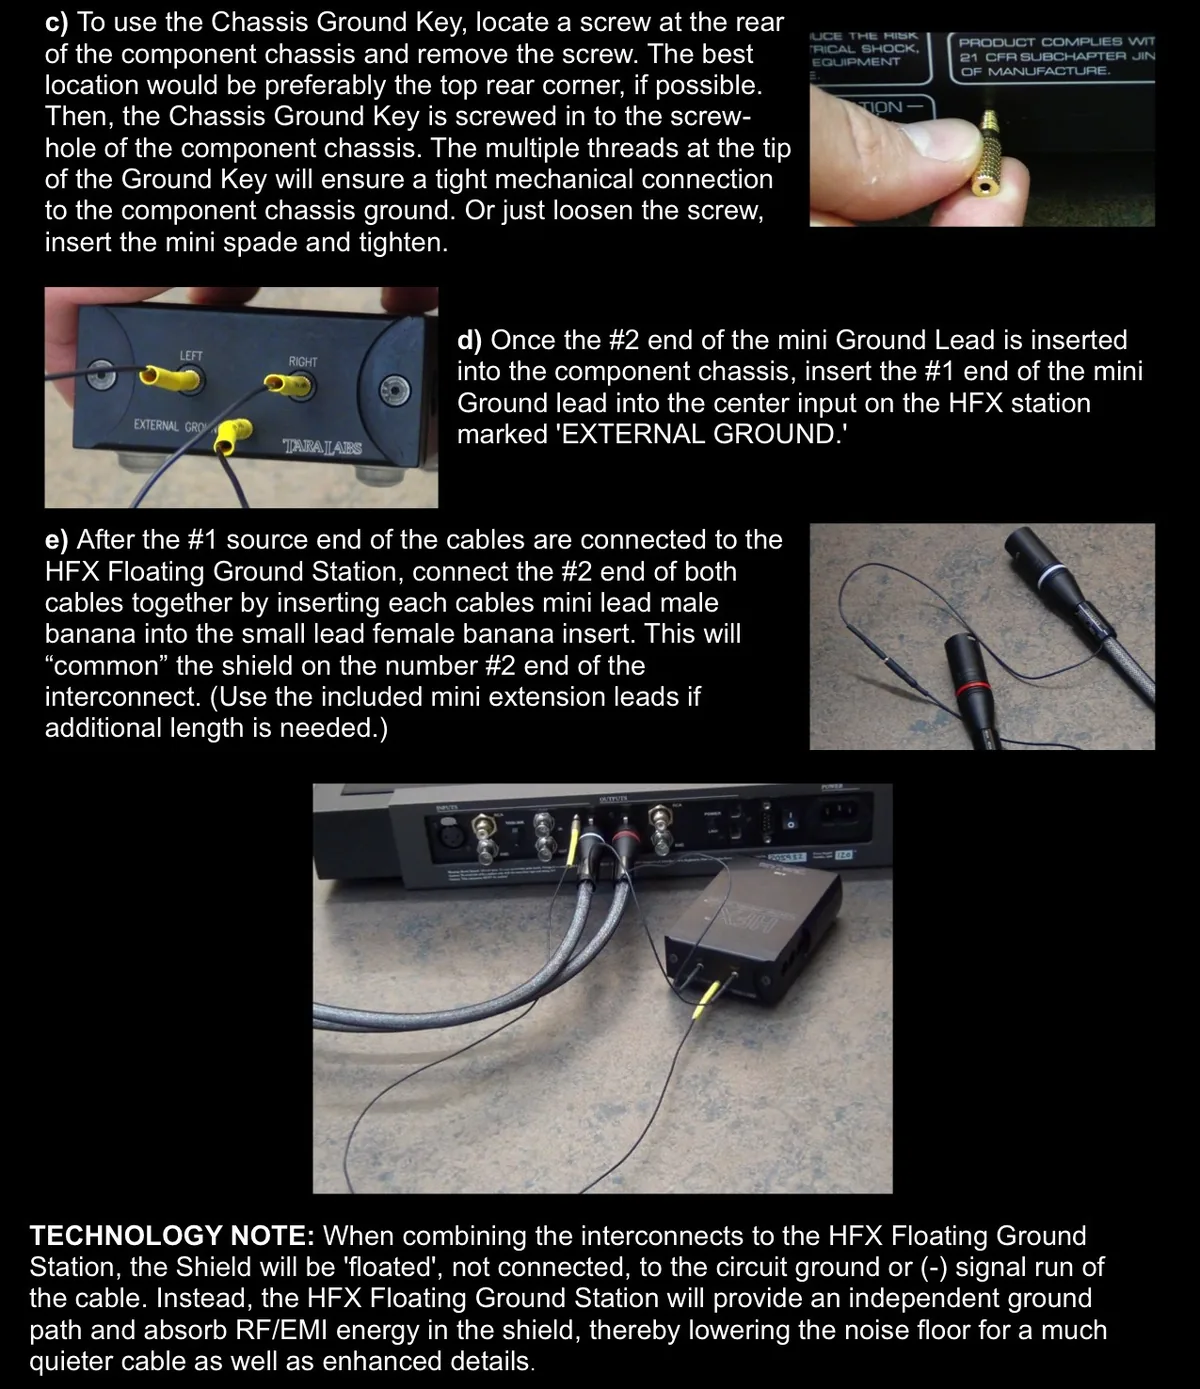
How to connect the HFX Floating Ground Station (PDF download)Connecting the HFX Floating Ground Station
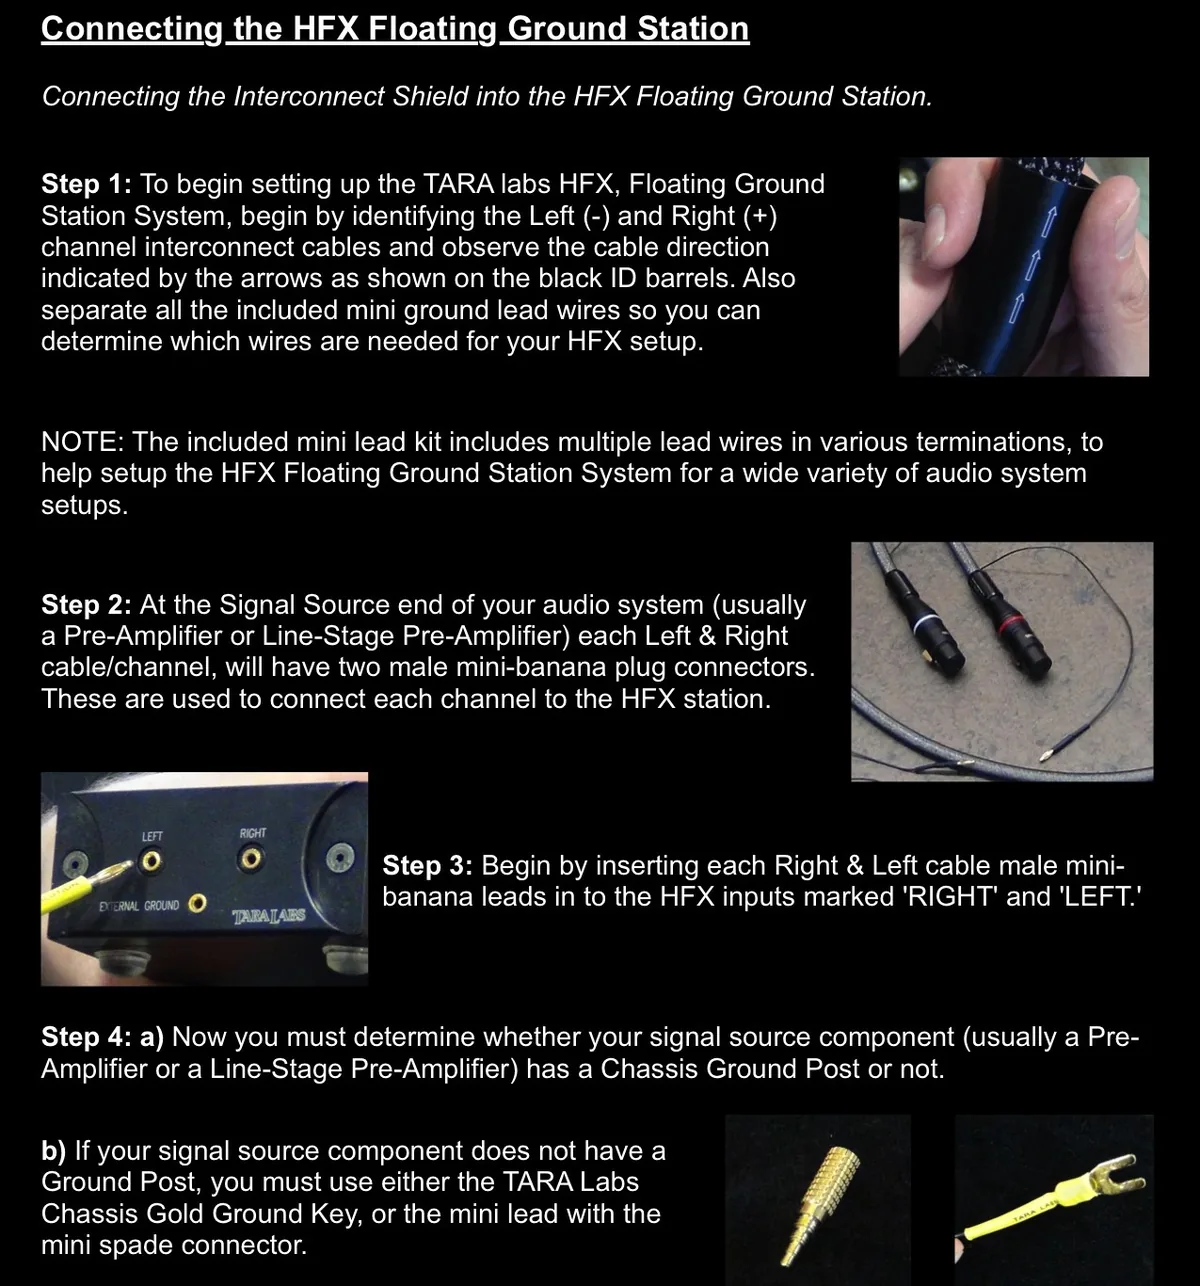
Connecting the interconnect shield to the HFX Floating Ground Station.
Step 1. To begin setting up the TARA Labs HFX Floating Ground Station System, identify the left (-) and right (+) channel interconnect cables, and note the cable direction shown by the arrows on the black ID barrels. Also separate all the included mini ground lead wires, so you can see which wires your HFX setup needs.
Note: The included mini lead kit has lead wires with several different terminations, to help you set up the HFX Floating Ground Station System in a wide variety of audio systems.
Step 2. At the signal source end of your audio system (usually a preamplifier or line-stage preamplifier), each left and right cable has two male mini-banana plug connectors. These connect each channel to the HFX station.
Step 3. Insert the male mini-banana leads of the right and left cables into the HFX inputs marked “RIGHT” and “LEFT.”
Step 4.
- Determine whether your signal source component (usually a preamplifier or line-stage preamplifier) has a chassis ground post.
- If it does not have a ground post, use either the TARA Labs Chassis Gold Ground Key or the mini lead with the mini spade connector.
- To use the Chassis Ground Key, find a screw at the rear of the component’s chassis, preferably at the top rear corner, and remove it. Then screw the Chassis Ground Key into the screw hole. The multiple threads at the tip of the Ground Key ensure a tight mechanical connection to the chassis ground. Or simply loosen the screw, insert the mini spade and tighten the screw again.
- Once the #2 end of the mini ground lead is connected to the component chassis, insert the #1 end of the mini ground lead into the center input on the HFX station, marked “EXTERNAL GROUND.”
- After the #1 (source) ends of the cables are connected to the HFX Floating Ground Station, connect the #2 ends of both cables together by inserting each cable’s mini-lead male banana into the small lead’s female banana insert. This “commons” the shield at the #2 end of the interconnect. (Use the included mini extension leads if you need more length.)
Technology note: When the interconnects are connected to the HFX Floating Ground Station, the shield is “floated”: it is not connected to the circuit ground or (-) signal run of the cable. Instead, the HFX Floating Ground Station provides an independent ground path and absorbs RF/EMI energy in the shield, lowering the noise floor for a much quieter cable and enhanced detail.
The illustrated instruction sheets